

 See My Latest Article on HelloNation
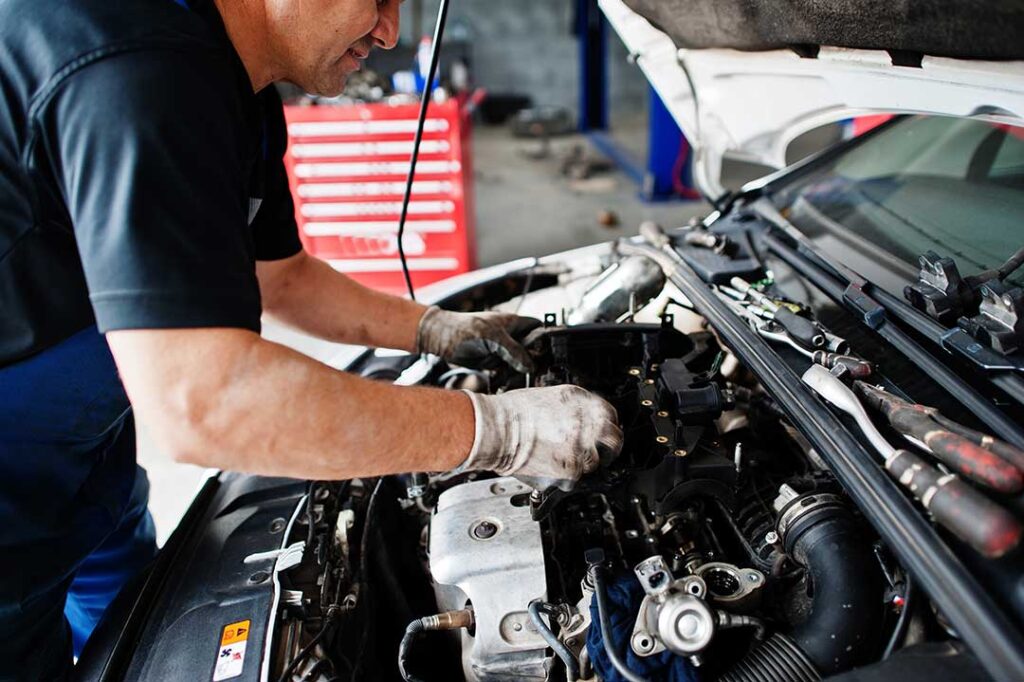
Cloudy or yellowed headlight lenses reduce the amount of light reaching the road and can make nighttime driving more difficult. In Tucson, AZ, strong sunlight, heat, dust, and frequent outdoor parking can speed up the deterioration of plastic headlamp covers.
The good news is that many hazy headlights can be improved at home if the cloudiness is on the outer surface. If the problem is inside the housing, caused by cracking, moisture, or damaged reflectors, cleaning the outside will not fully solve it.
Why do headlights become cloudy?
Most modern headlight lenses are made from polycarbonate plastic rather than glass. The plastic is coated with a thin UV-resistant layer, but that coating gradually breaks down from sunlight and weather exposure.
Common causes include:
- Ultraviolet exposure that turns the surface yellow or milky
- Fine dust and sand that create microscopic scratches
- Road debris and brush that damage the protective coating
- Heat cycles that make the plastic expand and contract
- Improper cleaning with harsh chemicals or abrasive materials
- Moisture entering through a cracked lens or worn seal
Vehicles parked outdoors in a hot, bright climate may develop oxidation sooner than vehicles kept in a shaded garage. A headlight can also look foggy because of condensation inside the housing, which requires a different repair approach.
Is the cloudiness on the outside or inside?
Before buying supplies or starting a restoration, determine where the haze is located. Exterior oxidation feels rough or slightly chalky when a clean fingertip is lightly passed over the lens. The surface may also look yellow, gray, or dull in direct sunlight.
Interior moisture usually appears as:
- Droplets or streaks behind the lens
- A foggy patch that changes after the headlight is turned on
- Moisture that cannot be wiped away from the outside
- Visible cracks, gaps, or damaged seals around the housing
A small amount of temporary condensation can occur after a temperature change, but recurring moisture suggests a ventilation or sealing problem. If water is collecting inside, polishing the outer surface will only improve appearance temporarily, if at all.
What supplies are needed?
For light to moderate exterior oxidation, basic materials are usually enough:
- Automotive soap and clean water
- Microfiber towels
- Masking tape
- Fine wet-and-dry abrasive sheets or a headlight restoration compound
- A spray bottle filled with water
- Plastic polish or a suitable finishing compound
- UV-resistant clear protective coating made for automotive lighting
The exact abrasive grade depends on the condition of the lens. A mildly hazy lens may need only a fine polish. Heavier yellowing or roughness may require several progressively finer abrasive steps.
Avoid household glass cleaner, strong solvents, rough sponges, and general-purpose abrasive powders. These can damage the plastic or remove material unevenly.
How can cloudy headlights be restored?
A careful restoration usually involves cleaning, sanding or polishing, refining the surface, and applying UV protection.
1. Wash the headlight and surrounding paint
Clean the lens with automotive soap and water to remove dust and grit. Dry it with a microfiber towel. Any remaining grit can create deeper scratches during polishing.
2. Protect the surrounding surfaces
Apply masking tape around the headlight, especially where the lens meets painted body panels, trim, or rubber seals. This reduces the chance of scuffing nearby surfaces.
3. Wet-sand or polish the oxidized layer
For moderate oxidation, use a fine abrasive with plenty of water. Work in one direction using even pressure, then change direction during the next step. This makes it easier to see whether the previous scratches are being removed.
The lens may look more opaque during sanding. That is normal. The goal is to remove the damaged outer layer evenly rather than trying to make the plastic clear immediately.
Do not press aggressively, concentrate on one small spot, or allow the lens to become dry and hot. Excessive friction can create uneven areas or soften the plastic.
4. Refine the surface
Move to a finer abrasive or polishing compound to remove the marks from the previous step. Continue until the surface feels smooth and the haze has become uniform and much lighter.
A powered polishing tool can save time, but it also creates more heat. Anyone using one should keep it moving, use moderate speed, and pause frequently. Heat buildup can distort the lens.
5. Remove residue and inspect the result
Wipe the lens clean and inspect it in daylight. Look for remaining yellow patches, deep scratches, cracks, or areas that still appear cloudy from inside the housing.
If the lens is clear but slightly dull, a plastic finishing polish may improve its appearance. Polish alone will not correct deep damage or interior condensation.
6. Apply UV protection
UV protection is the step most likely to be overlooked. Without a protective coating, the newly exposed plastic may oxidize again quickly under intense sunlight.
Use a coating specifically labeled for exterior automotive plastic or headlamp lenses. Follow the product’s drying and curing instructions. Keep the surface clean and dry during curing, and avoid washing the vehicle until the coating has had enough time to set.
Can toothpaste or household remedies clear headlights?
Toothpaste may temporarily improve a lightly hazy lens because it contains mild abrasives, but it is not a complete restoration system. It generally does not provide consistent results on severe oxidation and does not replace UV protection.
Baking soda mixtures, kitchen cleaners, polishing powders, and unapproved solvents can leave scratches, residue, or chemical damage. A proper automotive plastic polish or restoration process is more predictable.
Another common misconception is that sanding permanently damages a headlight. Sanding is not automatically harmful; uneven sanding, excessive pressure, and failure to apply protection afterward are the more common problems.
When should a headlight be replaced instead?
Replacement may be more practical when the lens or housing has structural damage. Warning signs include:
- Cracks that allow water inside
- Broken mounting points
- Severe pitting that does not improve after polishing
- Internal reflector damage
- Loose wiring or burned components
- Persistent moisture after the housing has been dried and inspected
Headlights should produce a stable, properly aimed beam. If the light pattern is scattered, unusually dim, or aimed incorrectly after restoration, visibility may still be unsafe even if the lens looks clearer.
How can Tucson drivers slow future oxidation?
Outdoor parking is common in the area, and prolonged exposure to direct sun can shorten the life of a headlight’s protective coating. Parking in shade, using a covered space when available, and keeping the lens clean can reduce surface wear.
Helpful habits include:
- Wash away dust before wiping the lens
- Use clean microfiber towels
- Avoid dry scrubbing
- Apply a suitable UV protectant when the existing coating begins to fade
- Inspect both headlights at the same time
- Check beam performance after any restoration
Headlights are a safety component, not just an exterior appearance detail. If restoration improves the lens but nighttime visibility remains poor, the issue may involve the bulb, wiring, charging system, reflector, or headlight alignment rather than the plastic cover alone.